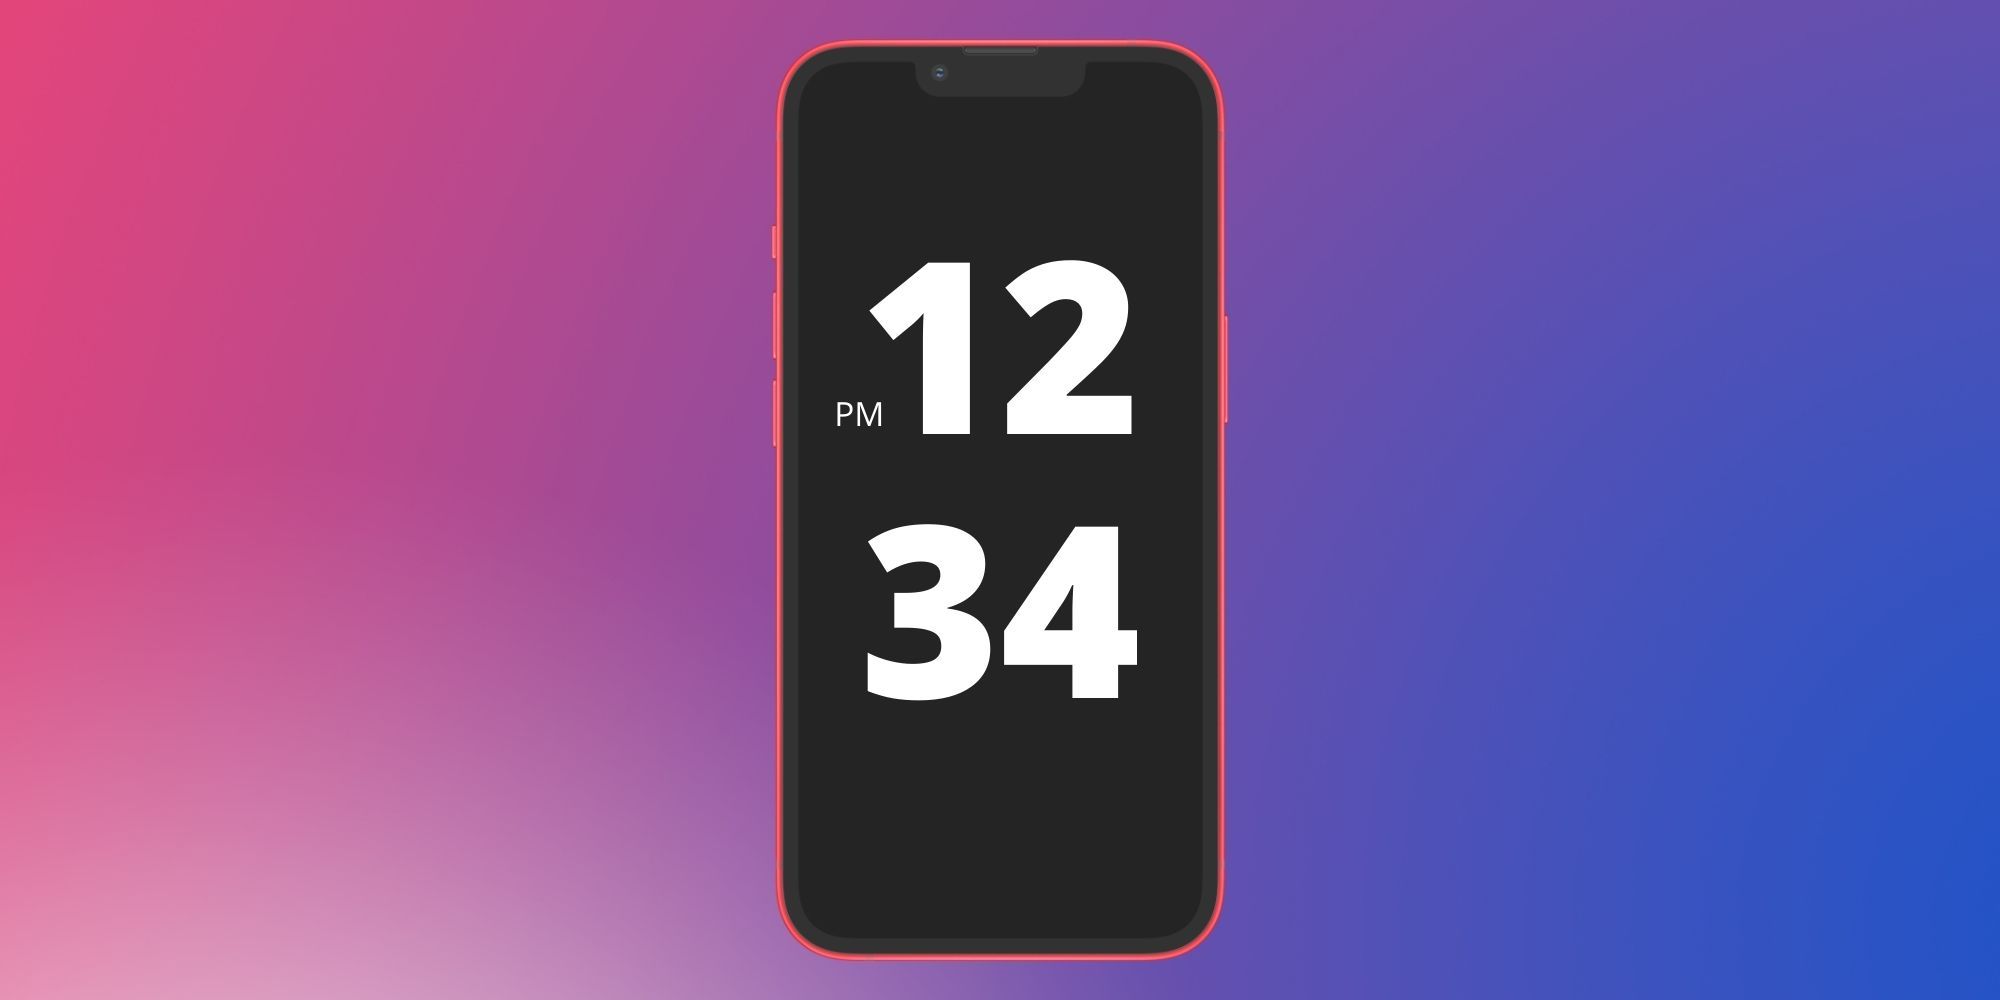
Using a simple trick on iPhone 13 or older models, users can set up the always-on display feature, which otherwise is not present on an iPhone.
There is a trick that lets users enable always-on display on an iPhone. In 2017, Apple launched the iPhone X. It was the first iPhone with an OLED display with a resolution of 458 pixels per inch. Since then, all the models in the iPhone series have featured an OLED panel. The display technology provides better contrast and produces deep blacks, which improves the user’s overall viewing experience.
The technology has been around for a while, and it has been used extensively by smartphones in the Android ecosystem. Apple’s competitor Samsung manufactures its flagship smartphones with high-quality AMOLED displays with faster refresh rates. Even some entry-level smartphones from the company come with an OLED display instead of an LCD panel. While an OLED display on a smartphone offers better picture quality, it also unlocks a valuable feature called always-on display.
Using a simple trick, users can enable always-on display on their iPhones. However, the trick only works on iPhones that come with an OLED display, i.e., all the models launched after iPhone X, including iPhone 12 and iPhone 13 lineup. The first step in the trick is to find a nightstand clock application that contains live wallpapers with a black background. Once the nightstand application of choice is downloaded from the App Store, users should head over to ‘Guided Access’ in the ‘Accessibility’ menu located in Settings on an iPhone and enable it. Now, open ‘Passcode Settings’, ensure that the Face ID option is enabled, and set a Guided Access Passcode. The next step is to enable ‘Accessibility Shortcut’ and set the ‘Display Auto-Lock’ to ‘Never’.
Accessibility Workaround To Enable Always-On Display
After completing all the steps given above, users can enable an always-on display on their iPhones. All that is left to do now is head back to the nightstand application, open the wallpaper with a black background, and triple-tap the power button to enable Guided Access. This sets the screen to the live wallpaper that can display the time or date and prevents other applications from sending a notification (or distracting the user since Guided Access is enabled). Guided Access allows iPhone users to focus on one task by restricting other applications on the phone. Additionally, since the Display Auto-Lock setting is set to never, the iPhone could be set down with the wallpaper, and it looks like an always-on display. This is the iOS 15 trick that allows users to enable always-on display on the iPhones.
To turn off the always-on display (or Guided Access), triple tap on the power button. Users can still lock their iPhone by tapping once on the power button, but it also turns off the screen. To unlock, users can double-tap on the power button, which would fire up the Face ID sensor. Unlocking the device from here will also end Guided Access, and users can go back to their home screen by swiping up from the bottom end of the display.
Always-On Display Is Coming To The iPhone 14 Pro
While current iPhone users can use the workaround mentioned above to enable an always-on display, the feature is finally coming to the iPhone 14. Unfortunately, it will be restricted to only the Pro models in the series – iPhone 14 Pro and iPhone 14 Pro Max. According to display supply chain expert Ross Young, the iPhone 14 Pro models will feature a variable refresh rate that can go down to as low as 1Hz, enabling the always-on display functionality.
Further corroborating this report, Bloomberg‘s Mark Gurman said always-on display support has been built into iOS 16. Apple was reportedly planning the feature for the iPhone 13 models, but it was delayed. Gurman says the iPhone’s always-on display will show users “glanceable information” similar to the Apple Watch. By keeping the refresh rate down to 1Hz, the always-on display won’t result in a significant drain on the battery. Unfortunately, it looks like the standard iPhone 14 won’t get this feature, which means users will need to use the Guided Access trick to enable it.
Source: iDeviceHelp/YouTube


